
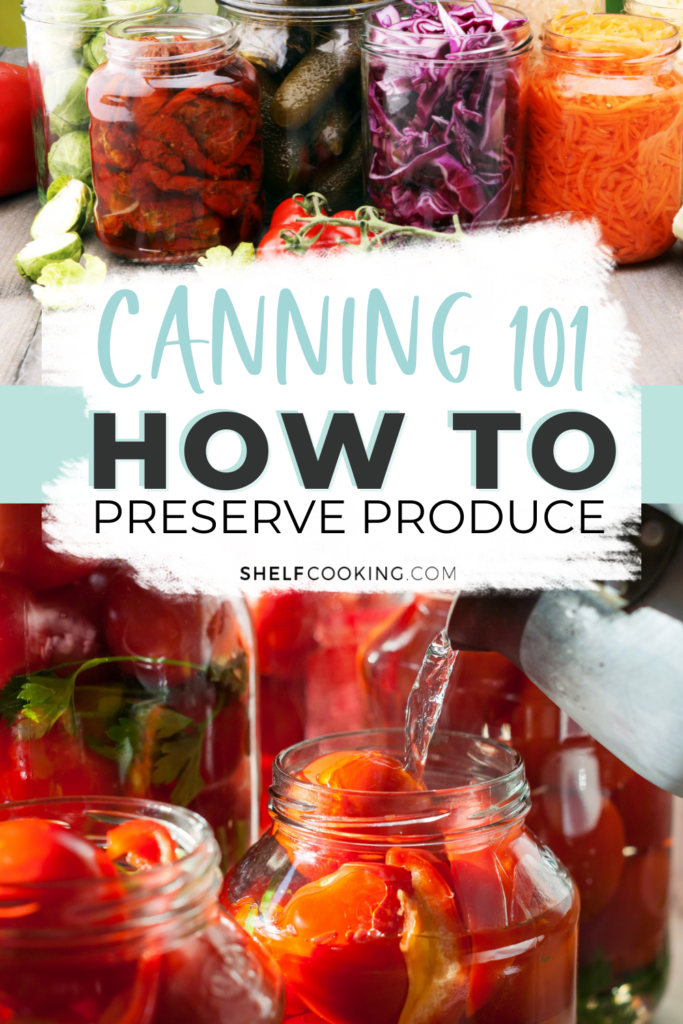
Canning vegetables like our grandparents used to do is a sustainable way to enjoy your favorite seasonal produce all year round! Here are the basic steps to preserving produce through canning.

Picture this: You're strolling through your local farmer's market, surrounded by vibrant colors, fresh scents, and a sense of nostalgia that takes you back to your grandparents' kitchen. Ah, the good ol' days when canning vegetables was a way of life!
Sure, we're the generation of fast-paced everything and technology at our fingertips, but there's something special about embracing those old-school traditions and connecting with our roots. So, let's put on our aprons and dive into the wonderful world of canning veggies, just like our wise grandparents did!
WHAT YOU WILL NEED FOR CANNING VEGETABLES
First things first, let's get our hands on the necessary tools and ingredients. You'll need:
- Mason jars, lids, and rings for sealing in the goodness. You can easily find them online or at thrift stores if you're lucky! Most grocery and craft stores also sell them in bulk in a couple of different size.
- Large pot for boiling water
- Funnel
- Clean kitchen towels
- Vinegar
- Salt
- Some kind of label system – could just be masking tape and a Sharpie, or a cute label maker!
- The fruits and vegetables you would like to can and preserve! We will go over the best options next.

BEST PRODUCE FOR CANNING
When it comes to canning, certain types of produce lend themselves better to the process and will result in delicious, long-lasting canned goods. Here are some of the best types of produce for canning:
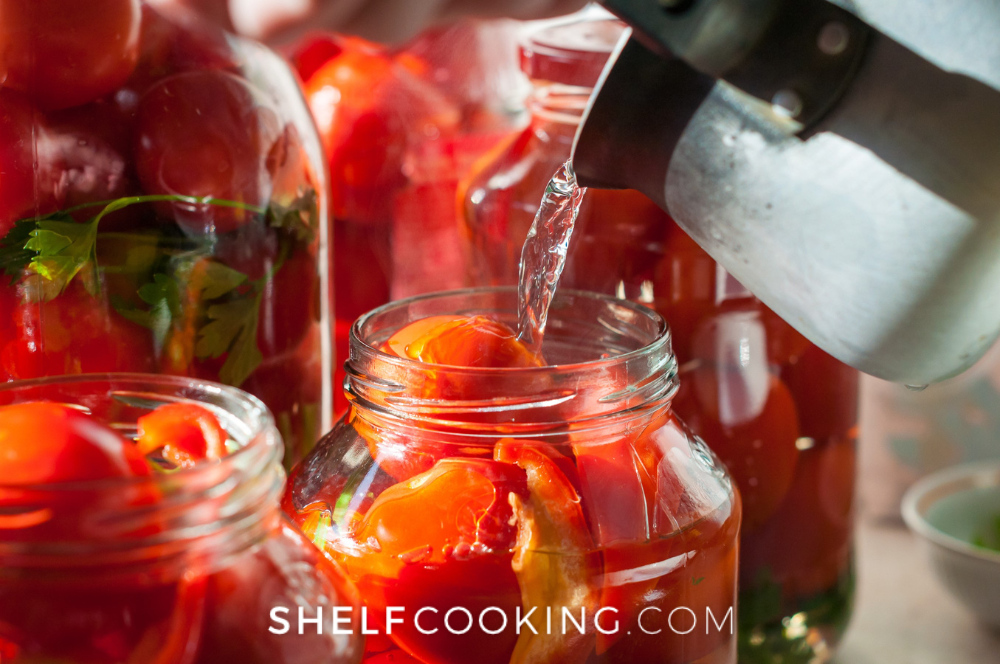
- Tomatoes: Tomatoes are a classic choice for canning. They can be canned whole, diced, crushed, or turned into sauces and salsas. High in acidity, tomatoes are naturally preserved when canned, making them a popular choice for beginners.
- Cucumbers: Cucumbers are perfect for making pickles. Whether you prefer dill pickles or sweet bread-and-butter pickles, cucumbers are a go-to option for canning enthusiasts.
- Green Beans: Green beans retain their crispiness well when canned, making them an excellent choice for adding some color and flavor to your pantry.
- Peaches: Sweet and juicy peaches are delightful when canned. They can be canned in syrup or made into peach preserves for a taste of summer all year long.
- Apples: Apples are versatile and can be canned as applesauce, apple pie filling, or apple slices. They are a great staple to have on hand for various recipes.
- Pears: Pears can be canned in syrup or as spiced pear preserves, adding a touch of elegance to your pantry.
- Berries: Strawberries, blueberries, raspberries, and blackberries can all be canned as jams, jellies, or preserves. These sweet treats are perfect for spreading on toast or adding to desserts.
- Peppers: Whether it's sweet bell peppers or spicy chili peppers, they can be pickled or canned in various forms to add some zing to your meals.
- Corn: Corn can be canned as whole kernels or creamed corn, making it a versatile addition to your canned goods collection.
- Beets: Beets are delicious when pickled, and they add a pop of color to your pantry shelves.
HOW TO CAN PRODUCE
STEP 1: SANITIZE, SANITIZE, SANITIZE
Wash your jars, lids, and rings thoroughly with hot, soapy water. You don't want any pesky bacteria crashing your canning party!
Fill a large pot with water and let it come to a simmer. Now, gently lower your jars into the pot using some kind of rack or towel to prevent them from bumping into each other. This step is crucial to sterilize the jars and ensure your vegetables stay fresh and tasty.
STEP 2: PREP THE PRODUCE
Slice, dice, or chunk your veggies to your desired size. Don't forget to remove any seeds, cores, or pits. And hey, a little taste-testing along the way won't hurt!
STEP 3: PACK IT IN
Now comes the fun part! Grab your hot, sanitized jars and start packing them with your prepped veggies. You can layer them, mix them, and even add some herbs and spices for that extra oomph. Get creative, experiment, and make it your own!
Wipe the jar rims clean, place the lids on top, and secure them with the rings. Tighten it just right, not too tight, not too loose—just like those Goldilocks vibes!
STEP 4: TIME FOR A HOT BATH
No, not for you—for the jars! Submerge your filled jars back into the pot of simmering water and let them have a hot bath for the time specified in your recipe. This step ensures that your vegetables get properly preserved and keeps any nasty bacteria at bay.
As your jars cool down, you might hear that satisfying “pop” sound—the sweet music of successful canning! It means your jars are sealed tight and your veggies are ready to party in their new, cozy homes.
STEP 5: LABEL WITH LOVE
To avoid any future “mystery jars,” label them with the date and the contents inside. Grandma would approve, for sure!
There you have it, the basics of preserving produce through canning! There are several recipes you can find out there for specific flavor profiles or pickling techniques, so don't be afraid to get started and try one today!
Happy Canning!
You'll also love these great blog posts:
Thanks for sharing this! It will help me get started.
I didn’t even think about canning corn, even though I buy can corn. 🤦 When we get corn we either freeze it on the cob or we pull it off the cob and just freeze it in bags. So yummy that way and it stays for a year time. Canned a years worth of tomatoes this year and so proud.
When it comes to making tomato sauce, when you sort the stuff like seeds, skins, and everything think from the sauce. Well keep it and cool it down. Then blend it up and put it in a oven safe pan thin layer. Put the oven on at a low setting and every 30 minutes or so, mix the mixture and once the paste is thick well you have just made paste from what otherwise you might have thrown away. Cool that down, put it into ice cube tray, freeze, then into gallon bag label as it would be about 2 tbsp of tomato paste. 😊 This is what I did when I made my tomato sauce this year.