
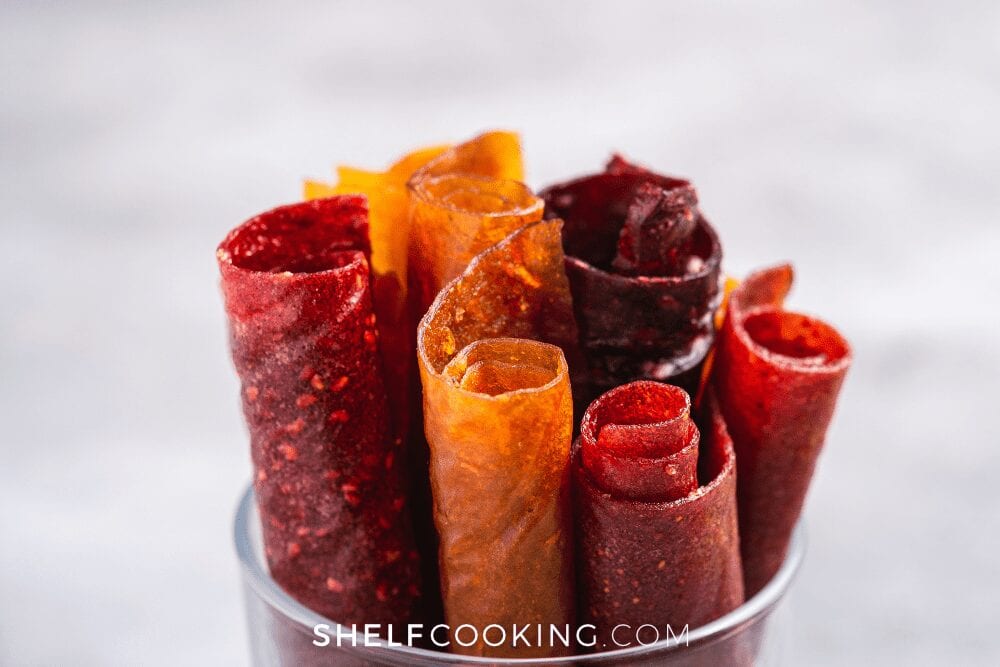
The next time you're in the fruit snack aisle, just keep on rolling! You can save MAJOR moolah at the store by passing on brand-name fruit roll-ups. Instead, make your own homemade fruit leather with only three ingredients. Master this basic recipe and then let your kids help you create your own unique flavor mashups.
Do you ever feel like you have to hide or ration the snacks to keep your kids from eating you out of house and home? It is so expensive to stay stocked on snacks if you buy everything pre-portioned and packaged – not to mention the added sugar and preservatives! That’s why we are such big fans of learning how to make copycat versions of popular snacks at home.
*Note: When you click the links in this post, we may receive a commission at no extra cost to you.
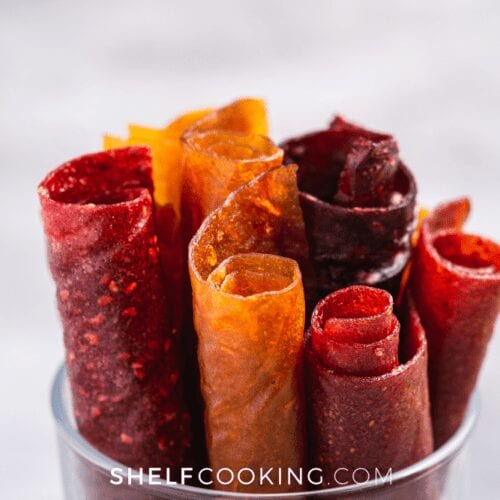
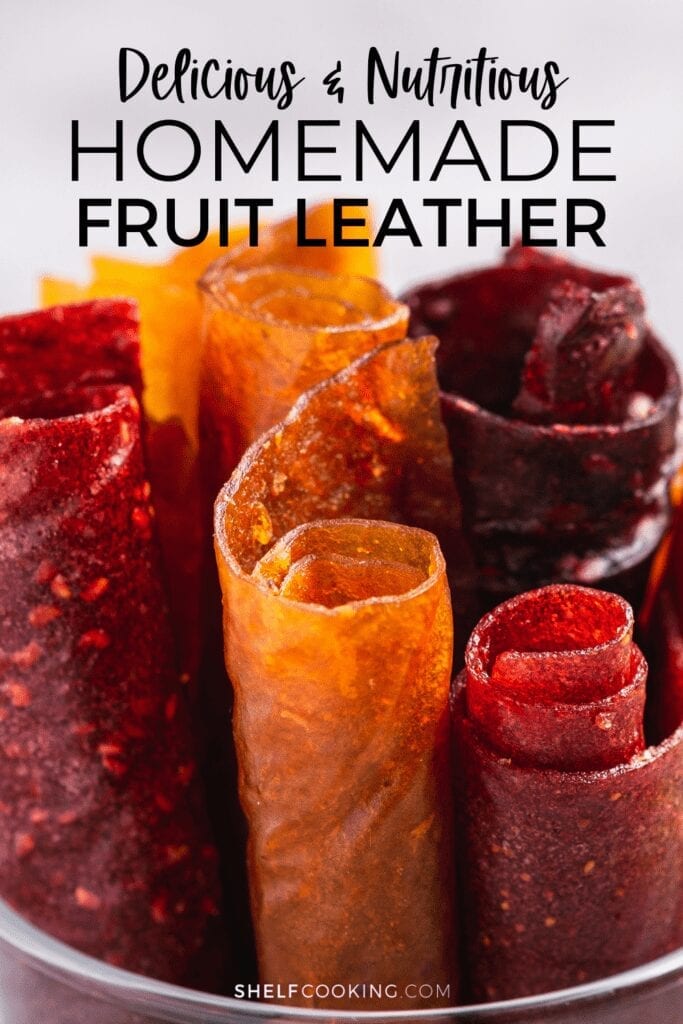
One snack that is astonishingly easy to make is homemade fruit leather. Maybe we are biased, but we think it tastes even better than the store-bought version! Whether you have a food dehydrator at home or not – you can throw together this crowd-pleaser using three simple ingredients that you probably already have on hand.
DELICIOUS FRUIT LEATHER FLAVOR MASHUPS
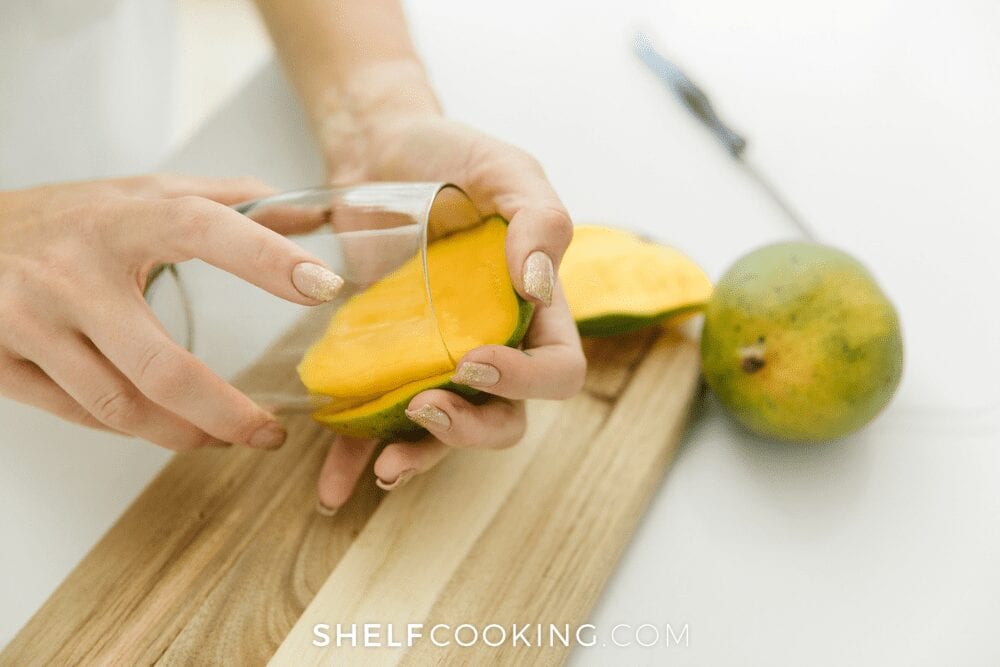
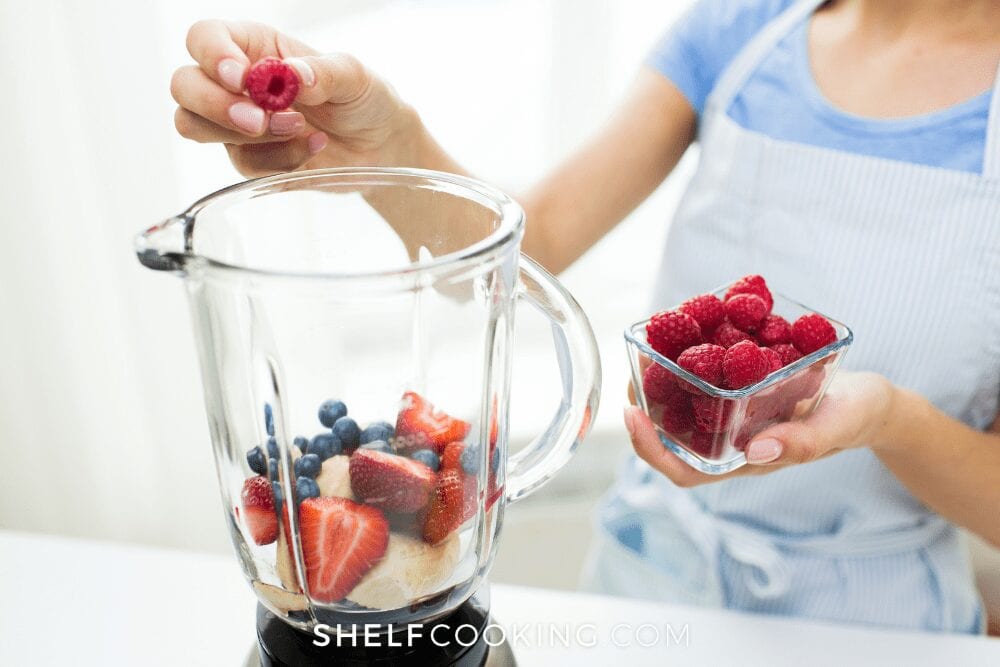
The base of the recipe is pretty obvious–fruit. Luckily, this recipe is so simple that you can use up virtually any ripe fruit you have laying around. You can also combine fruits for fun flavor mashups your kids will love. Here’s a list of our favorite homemade leather fruits to get you started.
- Raspberries
- Blueberries
- Strawberries
- Apples
- Mango
- Plums
- Peaches
- Bananas
- Grapes
Just think how delicious it will be to snack on a strawberry mango roll-up that you just whipped up in your own kitchen. Look at you go, mama! You'll be the envy of the park playground.
TIPS FOR SUCCESS
Even though this recipe is SO easy, there are a few things you can do to make it a slam dunk every time.
- Oh No, It's Sticking! – Keep your fruit leather from sticking to the surface of your tray by coating the tray with a small amount of vegetable spray or oil. Then add your fruit puree. Crisis averted!
- Uneven Fruit Leather – No one likes a lumpy leather. After you pour your fruit puree on, shake it, baby! Give your tray a little shake until the puree is evenly distributed.
- Brittle Leather – If your leather is dried for too long or at too high a temperature, it can turn out brittle and crack. Set a timer to make sure you don't over-dry.
With a little bit of prep and practice, you will turn out PERFECT homemade fruit leather every. single. time. We call that snack savvy!
CAN YOU USE A FOOD DEHYDRATOR?
Do you have a food dehydrator tucked away in a kitchen cupboard? Dust it off! You can whip up these snacks in a jiffy with your fancy-schmancy equipment. Here are a few easy tips if you're using a dehydrator.
- Line the trays of your food dehydrator with parchment paper.
- Pour your pureed fruit mixture directly from the blender into the trays and spread evenly.
- Set the dehydrator temperature to 140°F and put the lid on.
- Dehydrate the leather according to the manufacturer's instructions for your equipment, anywhere between 4-12 hours.
- Your fruit leather is done when it is no longer sticky to the touch.
- Cut the leather into strips using your kitchen shears.
- Voila! You've got a delicious healthy snack to enjoy!
When you follow our simple recipe and adjust for your food dehydrator, you will love the results. You may just become ADDICTED to the delicious snacks you churn out. Come on, you know you want it. It's just so goooood.
FRUIT LEATHER HACKS FOR SHELF COOKING SUPERSTARS
We're about to blow your mind up in here. If you're a true shelf cooking superstar (and we know you are!), then you'll definitely be looking for ways to uplevel your cooking efforts to hero status. Here are a couple of ways that you can do just that with your homemade fruit leather.
- Use Canned Fruit – Yup. Put that can of pineapple chunks that's near expiration to good use. Just drain the juice, and away you go!
- Use Frozen Fruit – Whaaaaat! You can finally use up those frozen raspberries from Grandma Sue's backyard bush by thawing them overnight and then throwing them in some fruit leather.
Pro Tip: Did you know that you can FREEZE your homemade fruit leather? This is a real game-changer. After you roll your dried fruit up in its cozy parchment wrapper, slip it into a freezer bag and pop that baby right into the freezer. It'll keep for up to a year!!! All you need to do is thaw it in the fridge before you enjoy it. We'll hold for your applause.
3-INGREDIENT HOMEMADE FRUIT LEATHER
Once you’ve picked your fruit, the recipe is super quick to throw together with just two other ingredients! Block off an afternoon at home, preheat the oven, and get to work creating this simple snack adapted from Food Network.
Homemade Fruit Leather Recipe
Ingredients
- 2 cups fruit, chopped
- 3 tbsp white sugar
- ½ whole lemon, just the juice
Instructions
- Preheat the oven to 200°F.
- Place all the ingredients in a blender and puree until smooth.
- Pour the mixture into a medium saucepan and bring to a simmer over medium-high heat.
- Reduce heat to medium-low and stir frequently until the mixture has thickened for about 35-45 minutes.
- Line a baking sheet with non-waxed parchment paper.
- Pour the mixture onto the baking sheet and spread evenly with a spatula.
- Bake in the oven for 3 to 3 ½ hours until the fruit leather is no longer tacky to the touch.
- Remove the baking sheet from the oven and let the fruit leather cool completely.
- Peel up a corner of the fruit leather and test to see if the underside is still moist. If it is, return the baking sheet to the oven – moist side up – for an additional 20 minutes to finish drying the fruit leather.
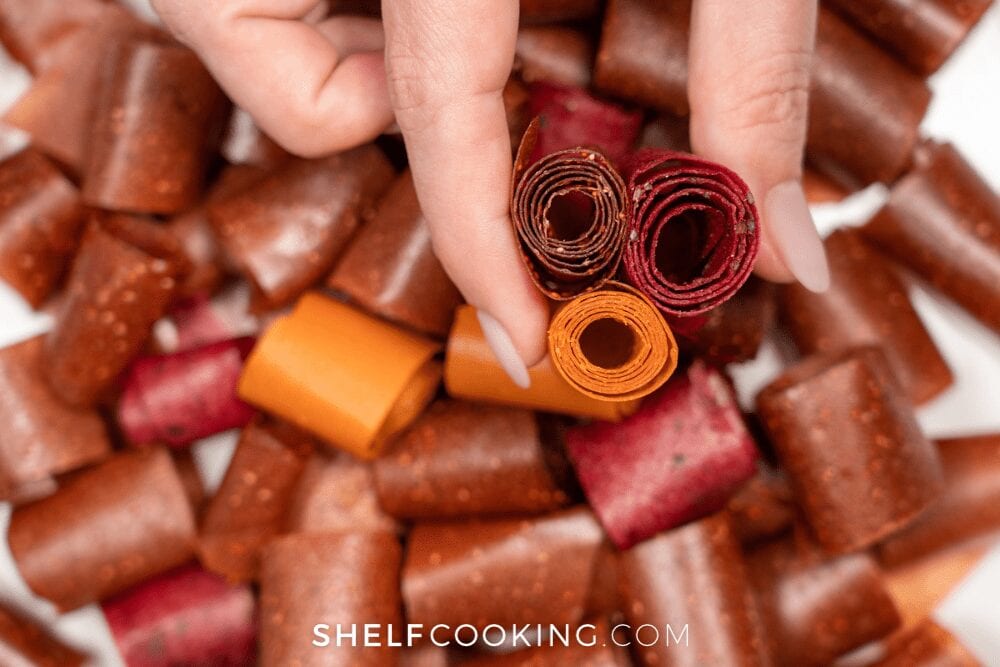
- Once the leather is fully dried and cooled, use kitchen shears to cut the leather and parchment into strips.
- Roll the individual strips parchment side out and store the rolls in a Ziploc bag in the fridge for up to 1 week.
This is the perfect recipe to make with your kids! They will love picking their own fruit flavors. Every time they enjoy homemade leather, they'll feel proud that they helped make it.
Once you've mastered this simple recipe the first time around, you'll find yourself making it on REPEAT. Share the love, and pass it along to your friends and family. It’s the perfect treat to pack in a lunch for school or work.
We just know that your kids (and kids at heart) will love it. We’re so excited to hear about your favorite flavor mashup. Let us know which one you love best in the comments below!
Looking for more ideas for yummy homemade food? Try out these posts.
- Master hard–boiled eggs for another delicious snack.
- Make a crowd-pleasing kid meal with DIY lunchables.
- Store fruit to make it last longer with these tips.
Have a berry good time with this recipe!
Can the lemon juice be left out? We have Reflux here and can’t eat lemon/lime juice.
Thank you!
If orange juice is tolerable that would be a great substitute!
Would stevia work as a sugar replacement?
Yes, Stevia should work!
What is the shelf life after making? Thanks for the simple recipe!
Can you use ginger and orange juice to make the leather. I am only able to find one place that sells it. But I would like to make my own.
This looks so good! What a great combination of flavors!
Hello, can I just puree the fruit I want to use and then put in tray and dehydrate? I don’t want to add sugar or lemon juice or cook it. Please advise.
Can raw cane sugar be used as a substitute?
The recommendation to use non-waxed parchment paper is a terrible one. The fruit paste basically merged with the paper and was inedible. A waste of fruit and time. It would’ve been better to just let it cook in the non-stick baking sheet or on a silpat.